Inexperienced website developers, which includes just about every do-it-yourselfer, will often create, build, and deploy their public-facing website right off the bat. There’s nothing wrong with this per se, but sooner or later the need will arise to run the website locally. Reasons vary, but several important ones come to mind: 1. You’d like to experiment with and test site modifications before deploying to production, and 2. disaster recovery, which is perhaps a primary motivator to have a working local site.
Don’t Feel Like Reading? Watch The Video!
General Steps
You’ll need to perform the following general steps to host a copy of your production WordPress site on your local machine:
- ___ Install MAMP PRO https://mamp.info
- ___ Backup/Download WordPress Site Files
- ___ Backup/Download WordPress Database(s)
- ___ Copy WordPress Site Files to Local Machine Site Hosting Directory
- ___ Import Database into MySQL
- ___ Configure Host with MAMP PRO
- ___ Launch Local Site
- ___ Run Production and Local Site Side-by-Side
Install MAMP PRO
MAMP stands for Mac OS X, Apache, MySQL, and PHP. MAMP makes it super easy and convenient to host websites based on these technologies, especially WordPress sites. Non-Mac users don’t despair — MAMP comes in a Windows version, too. MAMP comes in two flavors: MAMP and MAMP PRO. You want MAMP PRO, especially if you plan to host multiple local websites. If you’re a Linux user, I just assume you already know how to set up Apache, MySQL, and MySQL and would be surprised if you’ve read this far!
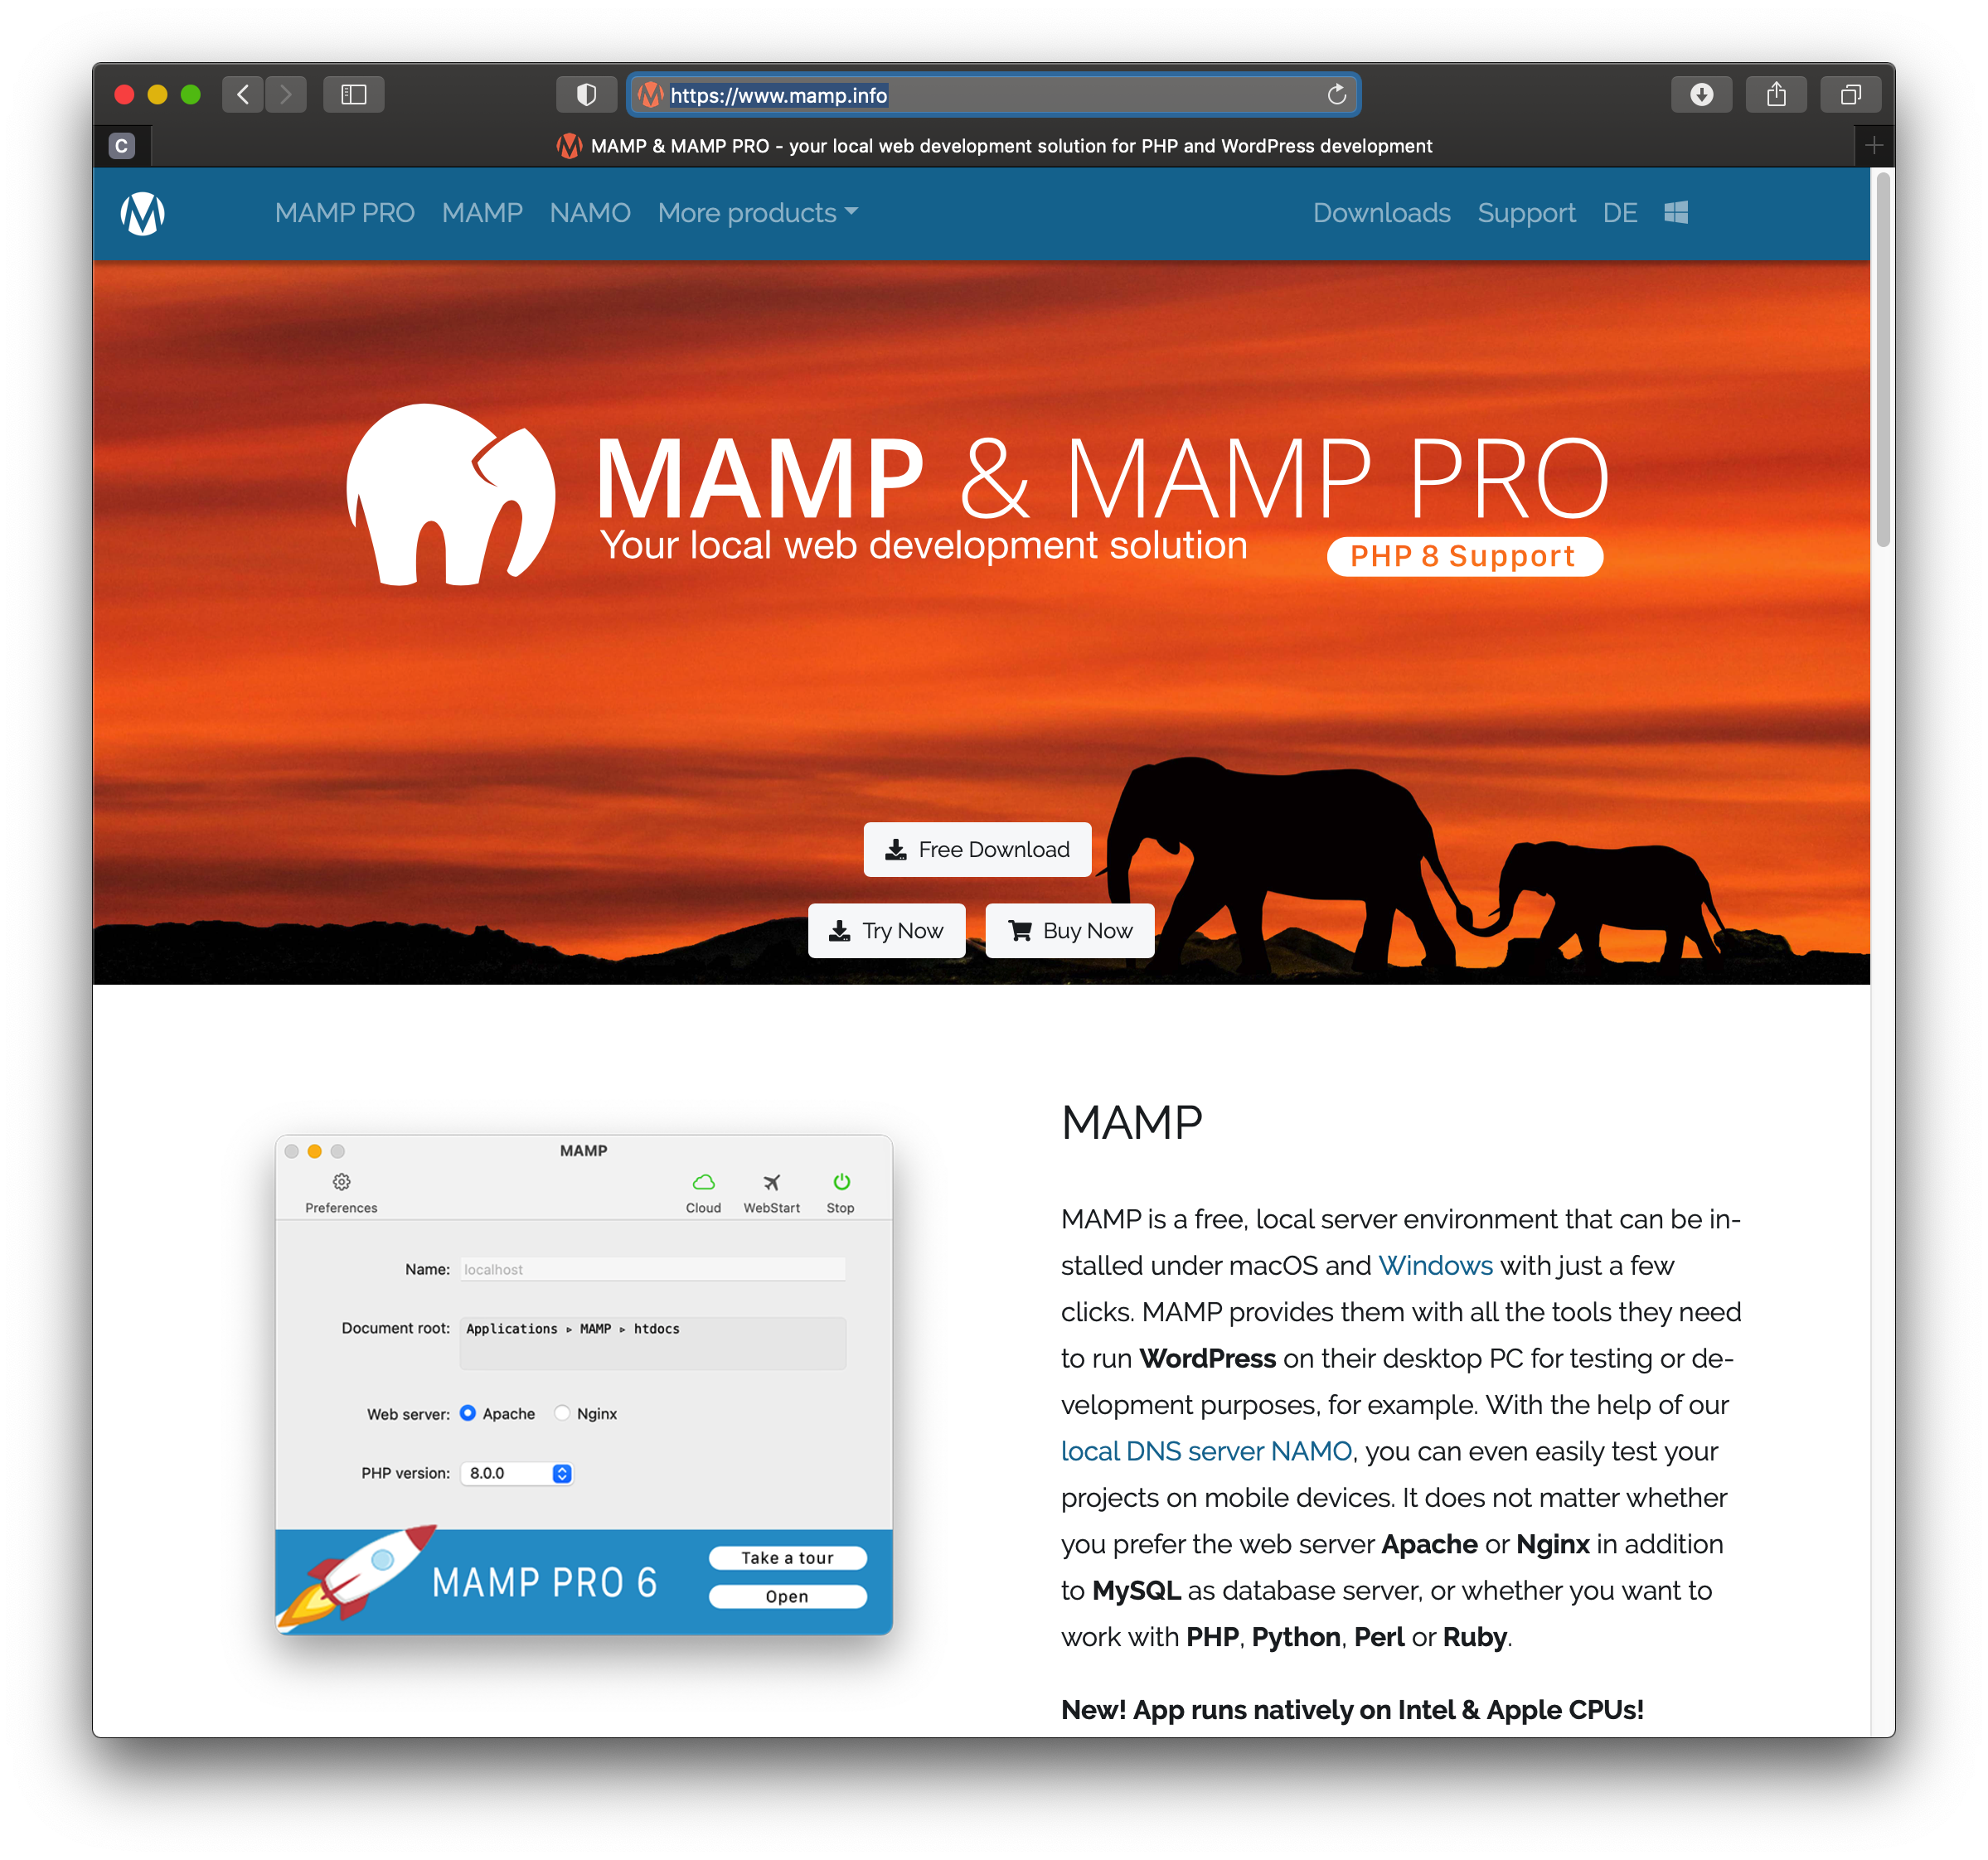
MAMP PRO Website
Backup/Download WordPress Site Files
There are a couple ways to skin the cat here. If you use a managed WordPress hosting package that provides a backup service like CodeGuard, backups are performed automatically, and all you really need to do is to generate a .zip file for download. For example, I use HostGator as my hosting platform, and use their managed WordPress hosting package.
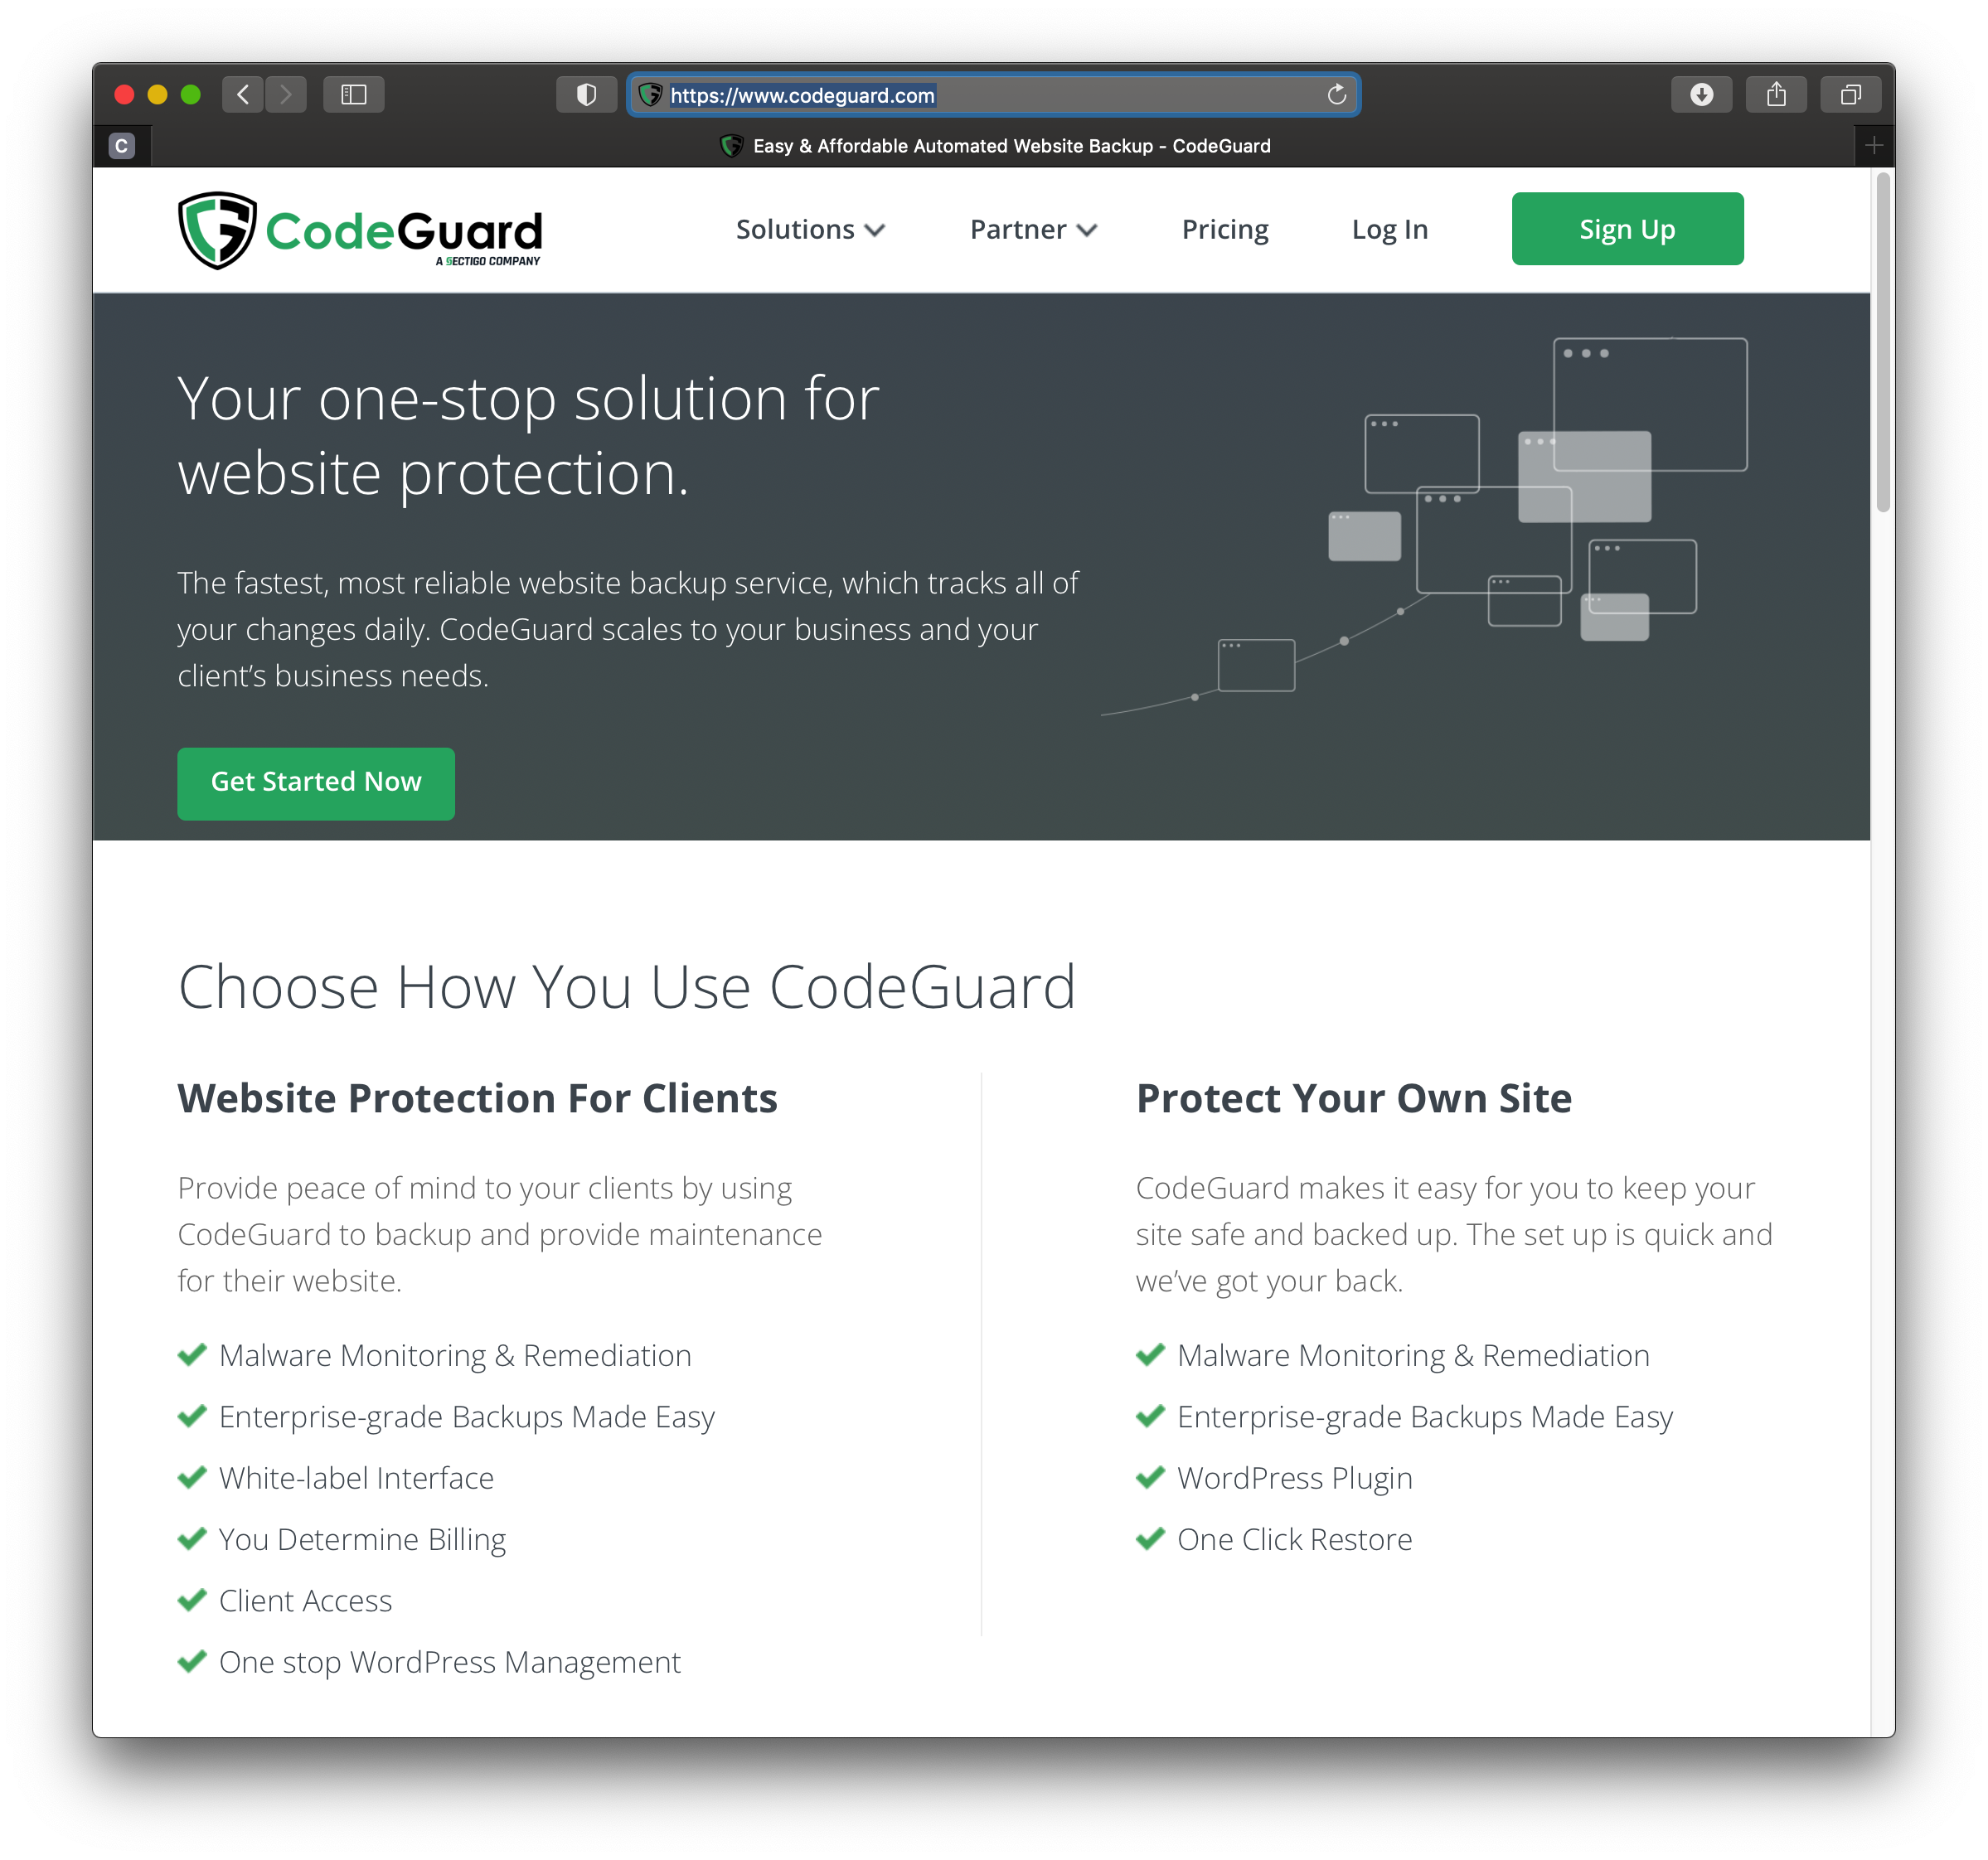
CodeGuard Website
When I log into HostGator, I see a proprietary control panel.
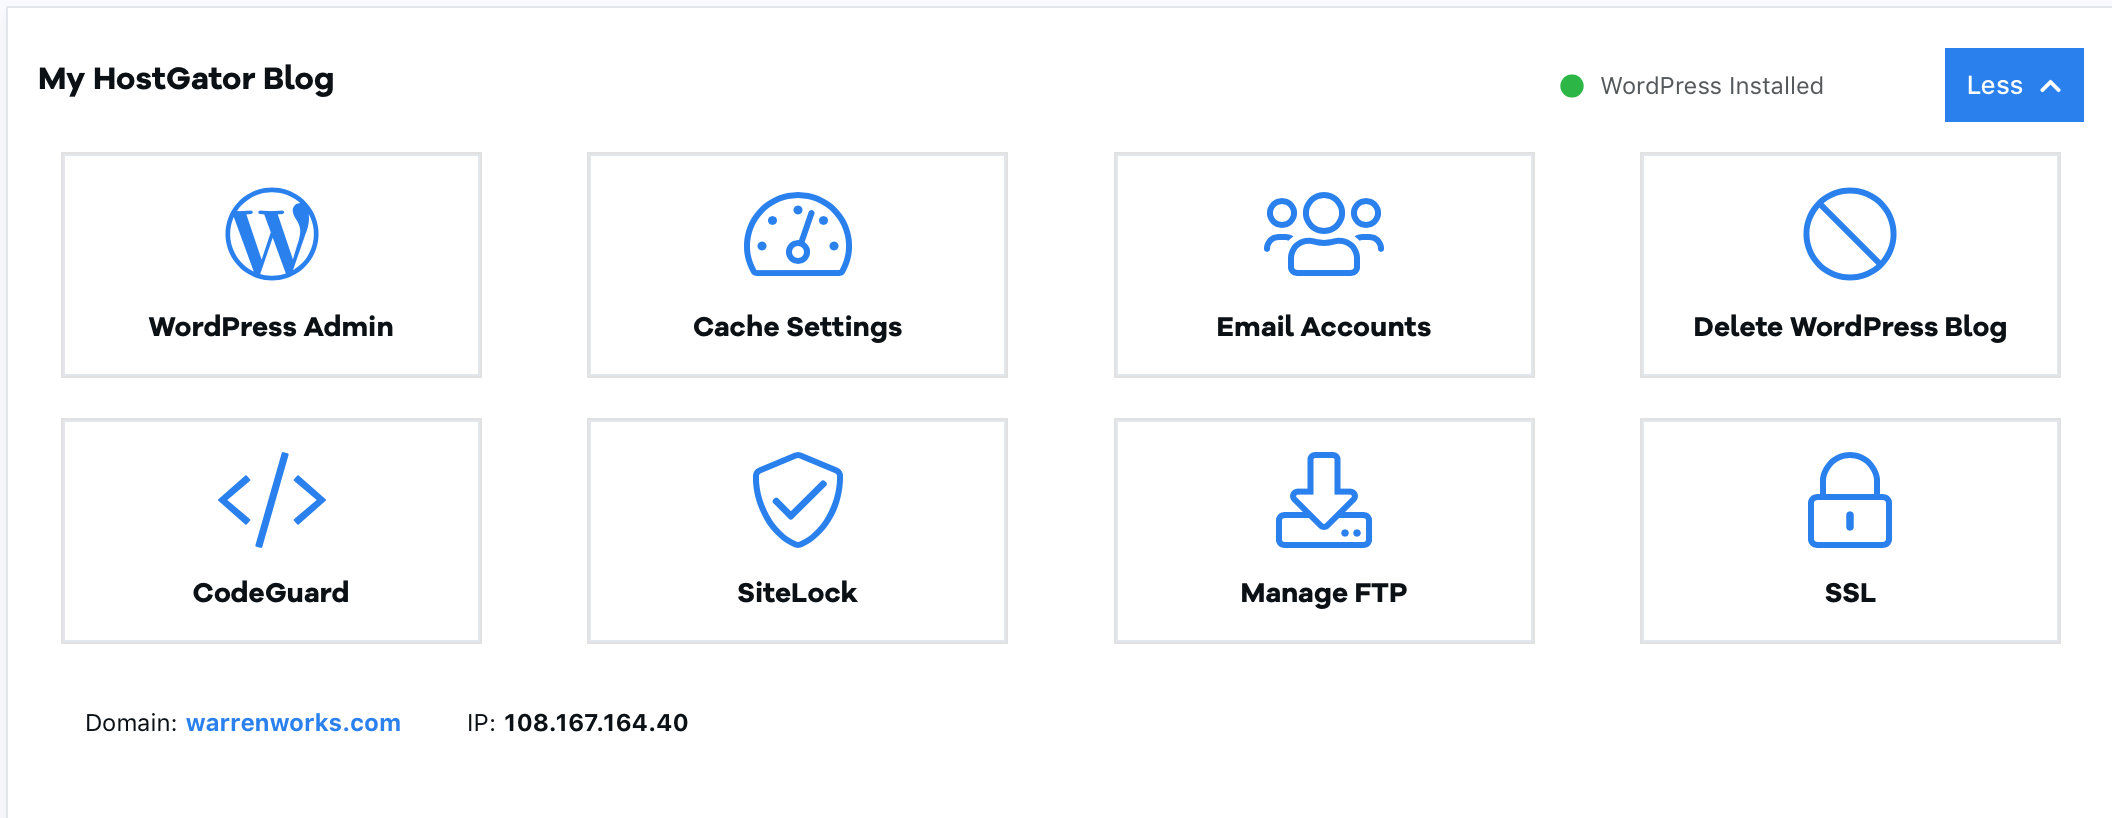
HostGator Managed WordPress Management Panel
Via CodeGuard, I can request a .zip file be generated for download that contains my latest site files. Once the .zip file is ready for download, I open a terminal and use the wget utility to download the file. (You can also use curl) The use of either of these two utilities is recommended, especially if the .zip file is large. In my case, my site files alone are 1.5 gigabytes. You can also use FTP to download your WordPress site files.
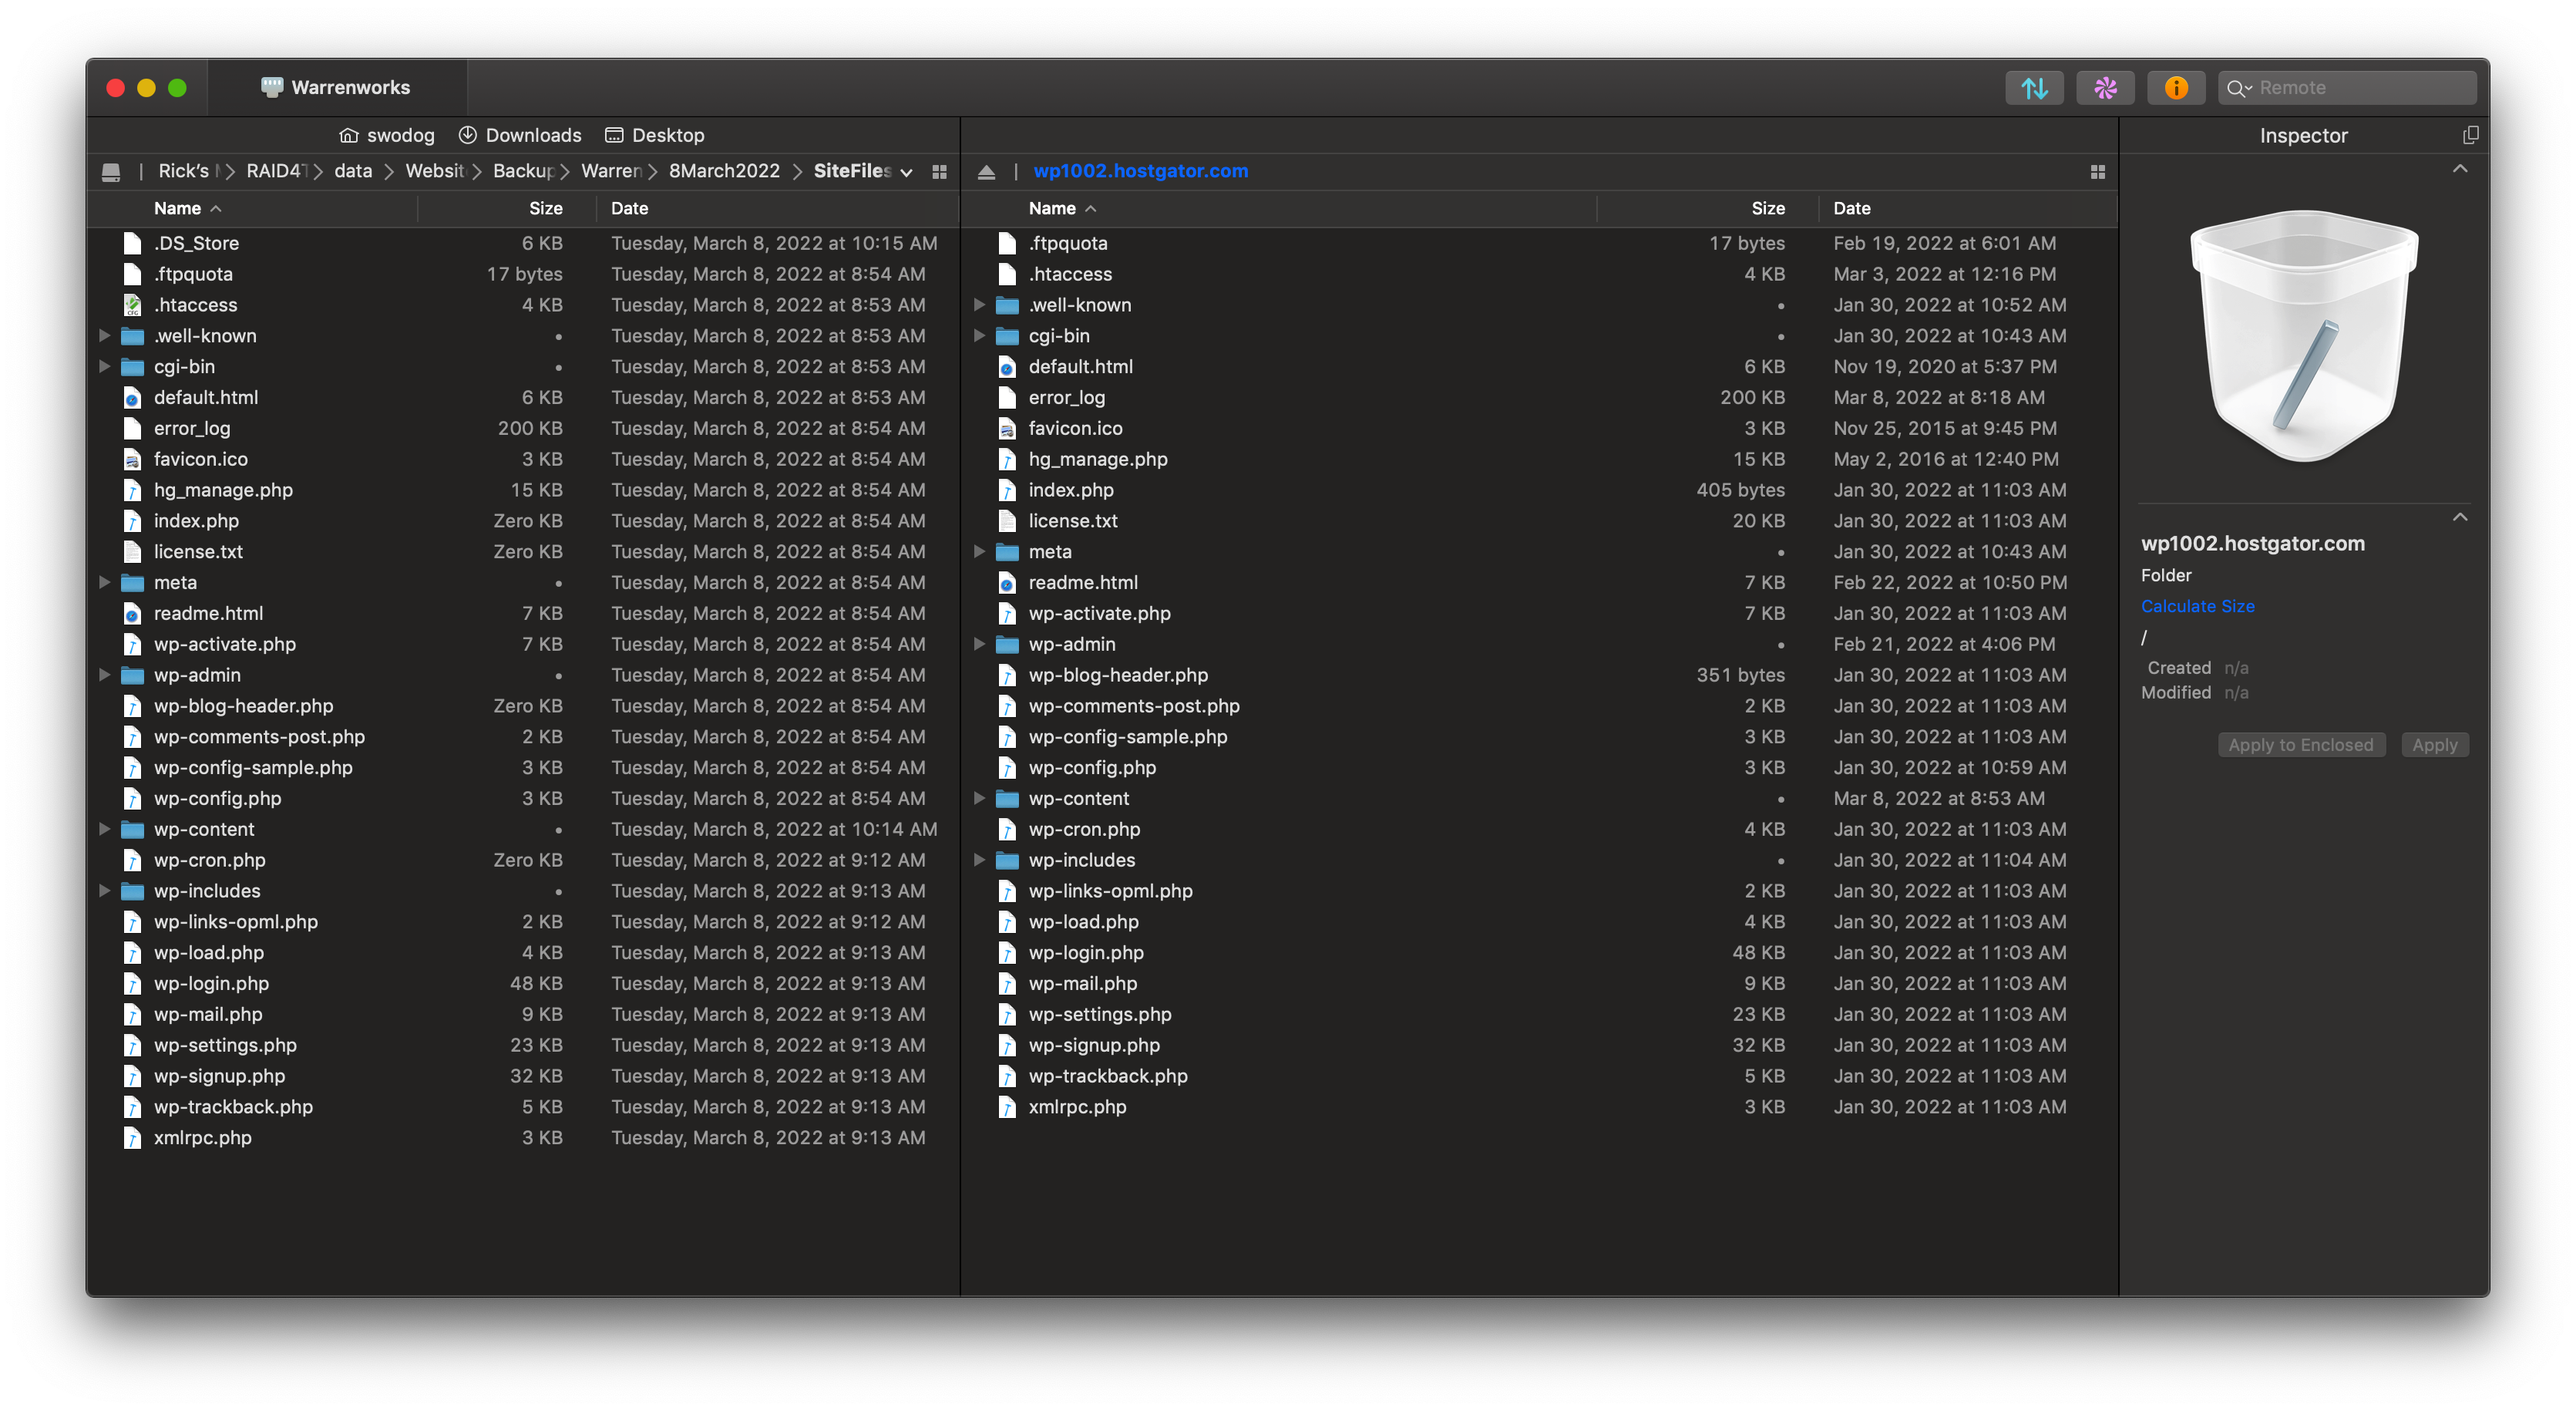
Downloading Site Files with FTP
Backup/Download WordPress Database
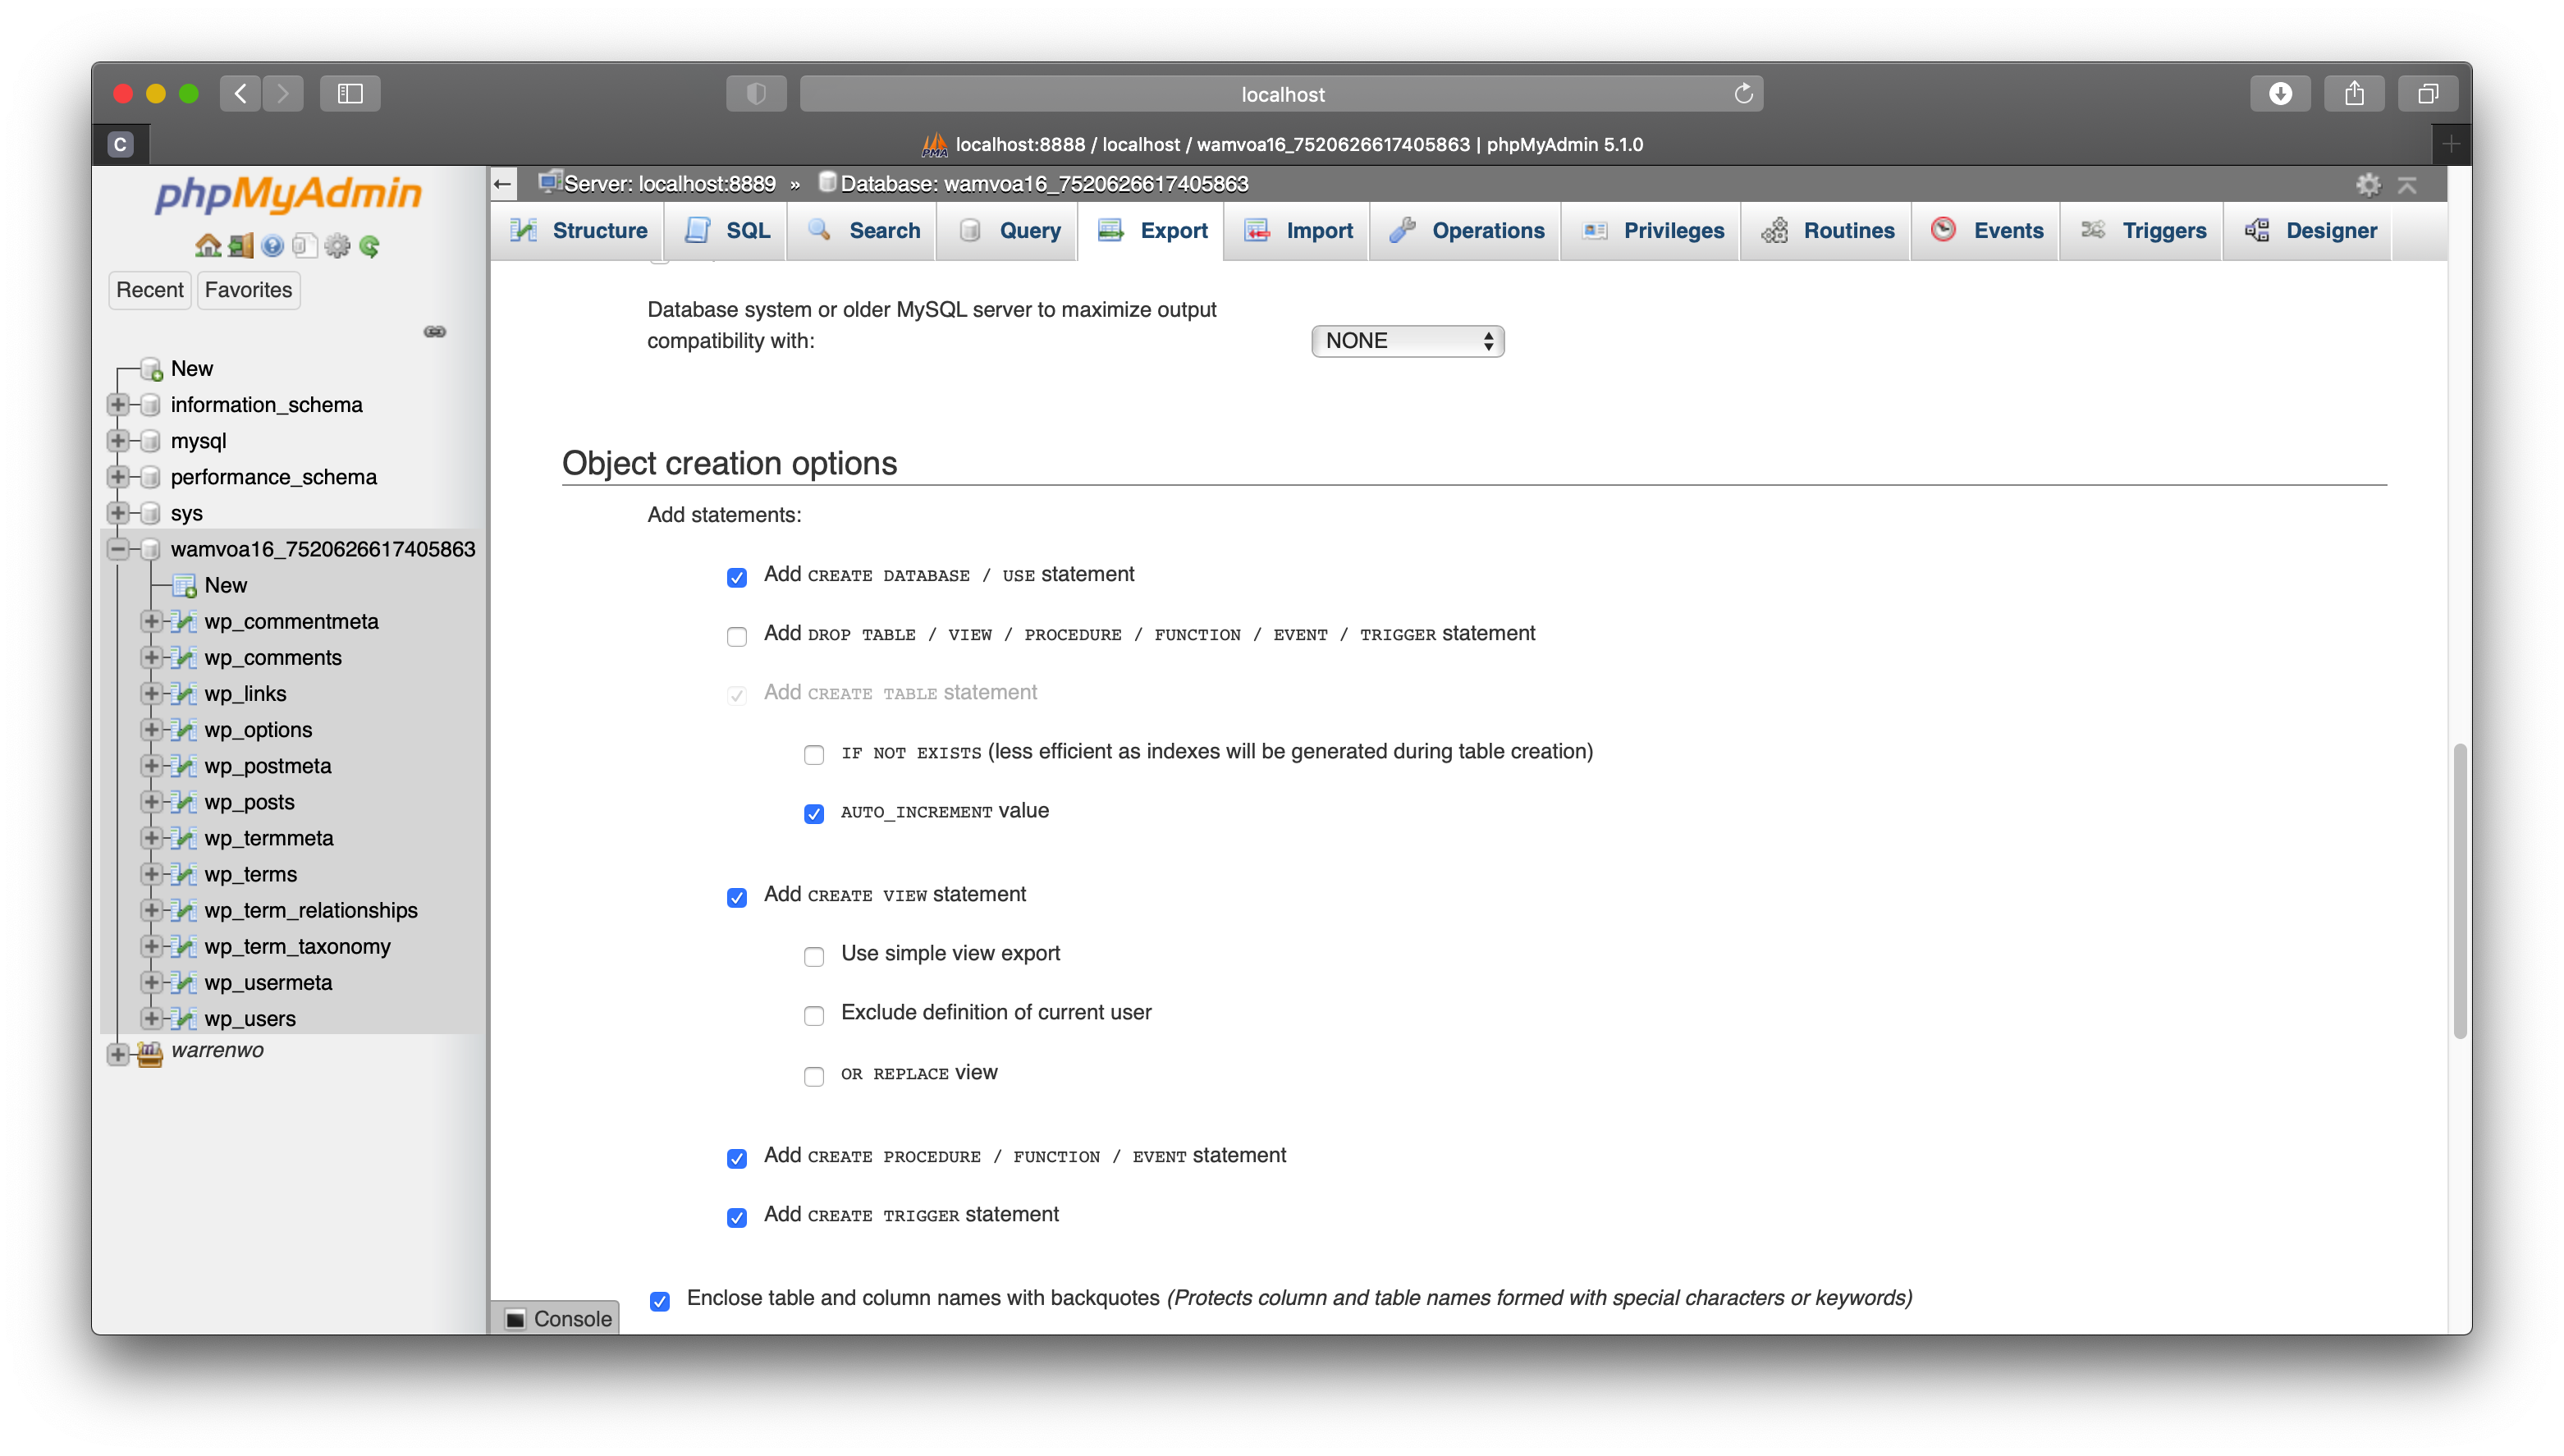
Like the site files, if your hosting provider provides access to a backup service like CodeGuard, you can request a .zip file with the latest backup of the database create scripts. If you use cPanel, and have access to PhpMyAdmin, you’ll need to export your database, being sure to check the Add Create Database / use statement checkbox, or else you’ll need to add the statements manually before you import the database to your local instance of MySQL.
Exporting Database with PhpMyAdmin
Copy WordPress Site Files to Local Hosting Directory
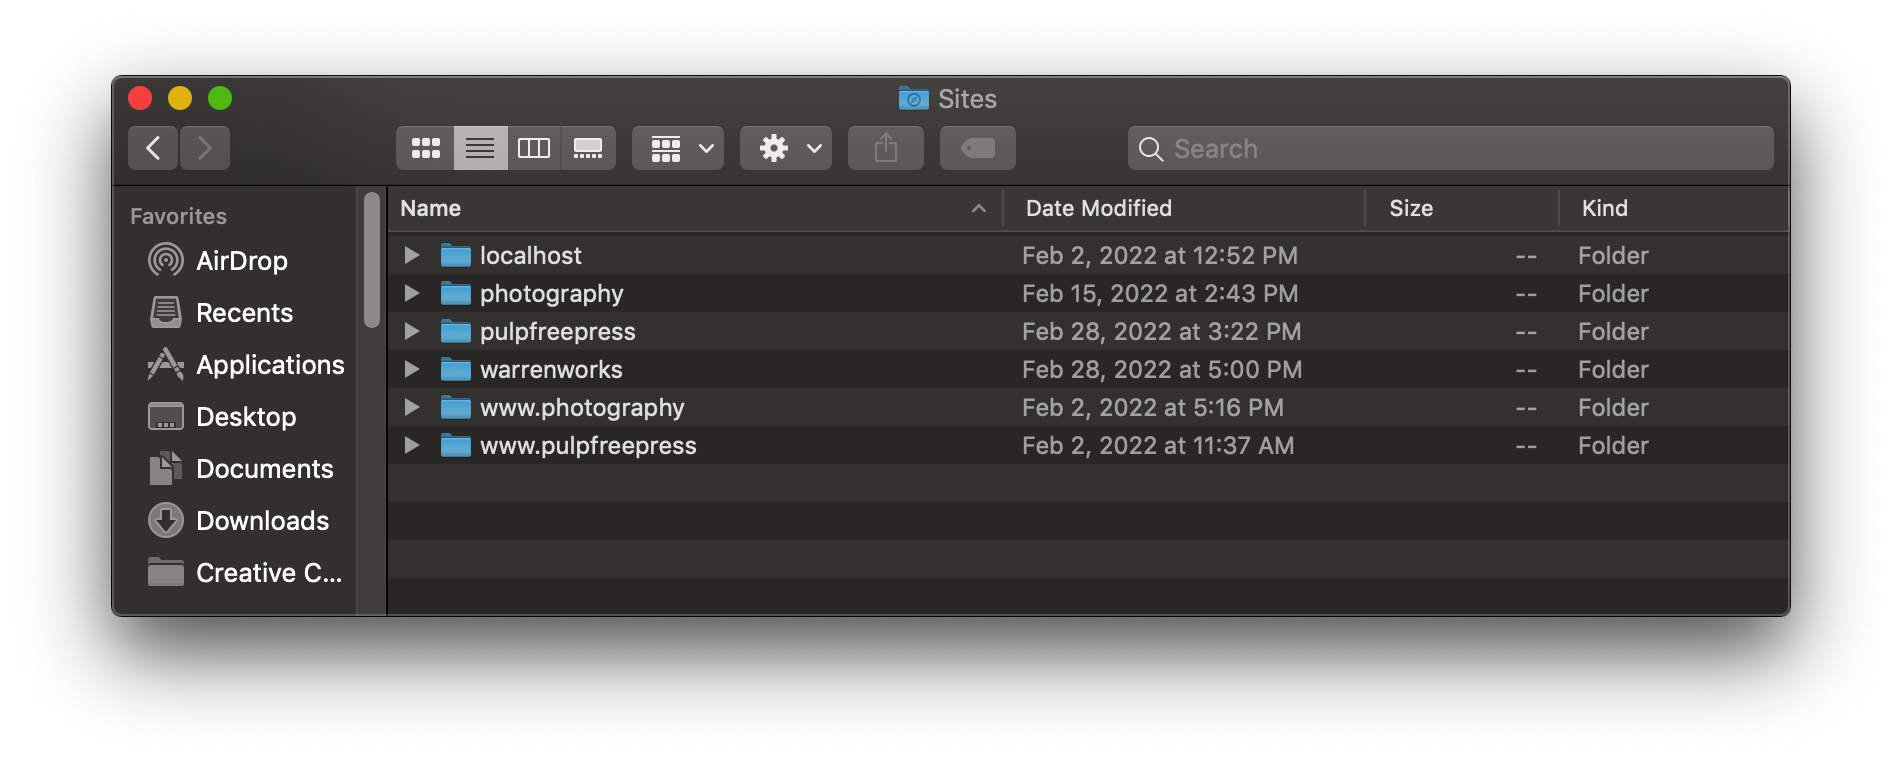
Once you’ve downloaded your site files, you’ll need to copy them to where MAMP PRO expects to find them. On a Mac it’s in the user’s ~/Sites directory. Create a separate subfolder for each site you wish to host under the Sites directory and copy the site files there.
Sites Directory
Import Database into MySQL
This is the trickiest part of this whole operation. If you downloaded the database scripts from a service like CodeGuard, you’ll need to manually edit the script to add the Create database and use database commands. You’ll also need to be mindful of the size of your backup. If it’s greater than 8 or so megabytes, it’ll be too large to import. And although the file is zipped by CodeGuard before being downloaded, it is not compressed. You’ll need to extract the script file, make the necessary edits, and then compress the file again, and then import the newly compressed .zip file.
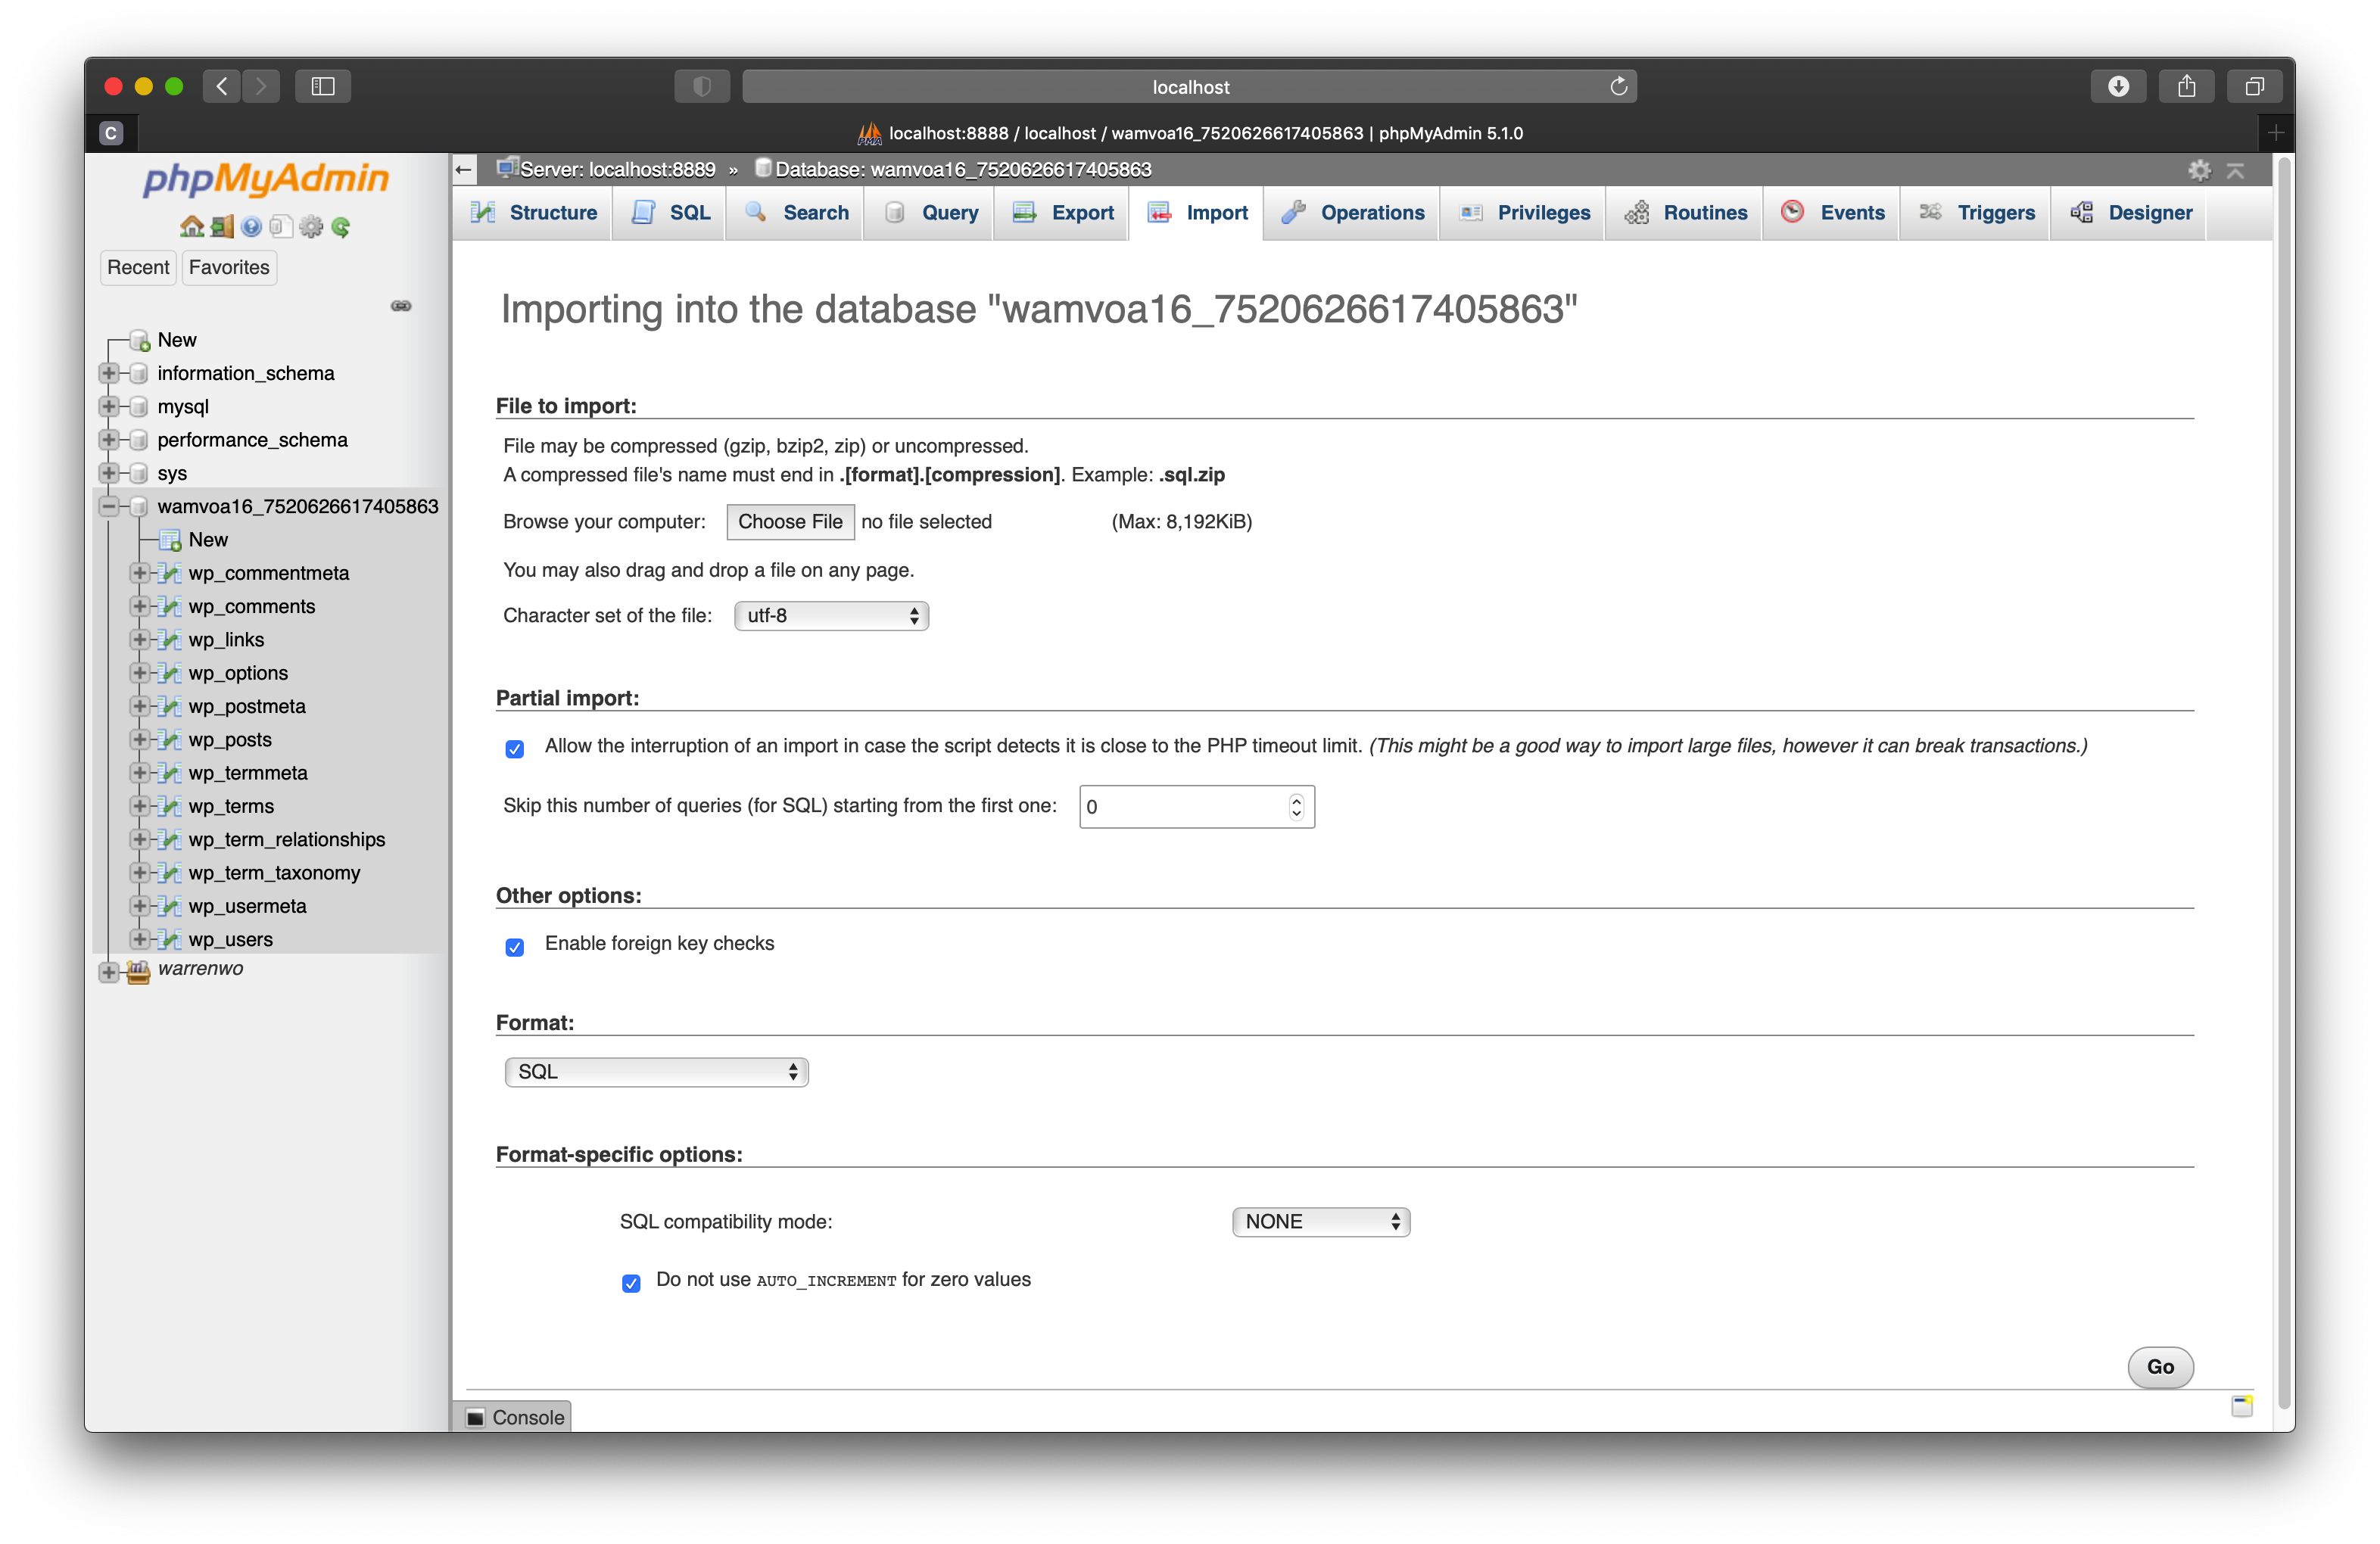
Importing Database into MySQL with PhpMyAdmin
After you import the database, you’ll need to create the database user required for WordPress to access the database. You’ll find this information in the wp-config.php file in your site files folder.
Configure Host and Launch Local Site
Now that you have your site files in place and have imported your database, you can create the host with MAMP PRO. This step is fairly straightforward, though there are a few gotchas. One being what to use as the name of the local site. The site name affects WordPress settings, specifically, the WordPress Address (URL) and the Site Address (URL) values. A change to the host name in MAMP PRO will automatically modify these settings.
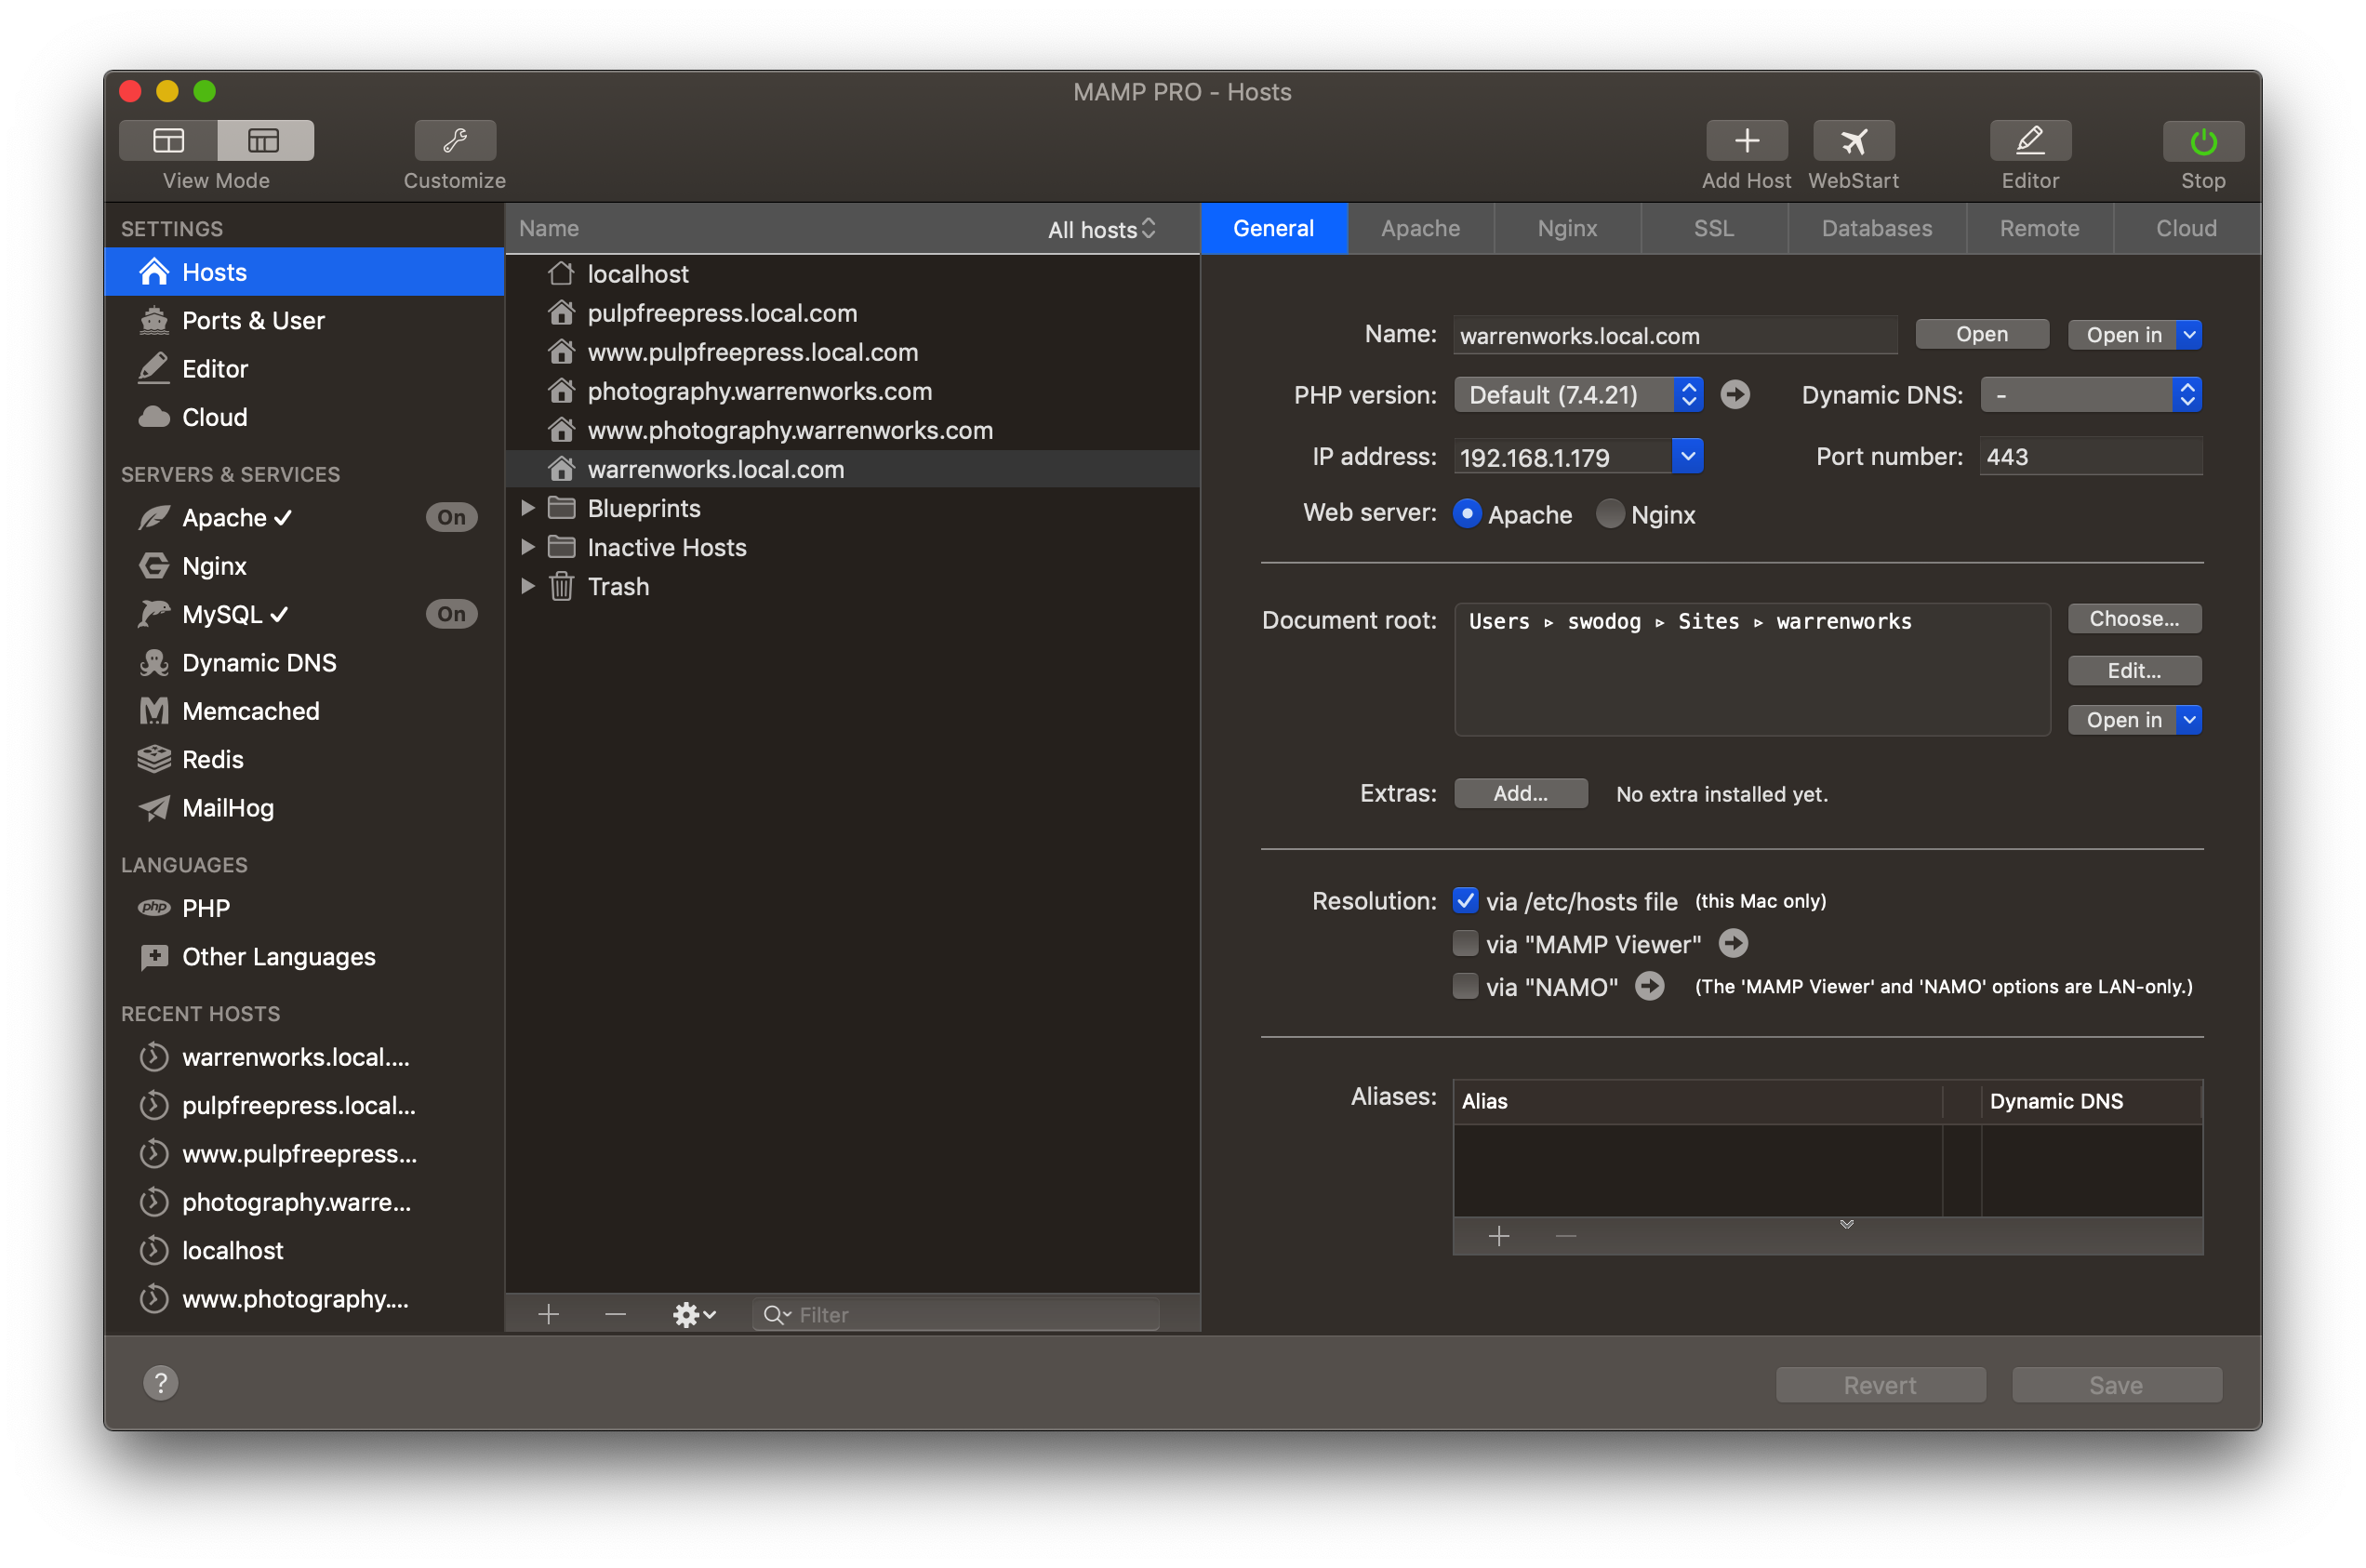
MAMP PRO Hosts General Tab
The other thing to be aware of is the effect of naming your local site the same name as your production site. For example, I have a website named https://warrenworks.com. If I use this as the name of the local site, then it masks access to the publicly facing version of the site due to settings made to the local machine’s /etc/hosts file. If you want to run a public-facing site alongside a locally-hosted version of the site, I recommend naming the local site [site-domain-name].local.[com | org | etc…]. If you’re using SSL, set the port to 443 in the MAMP PRO Hosts General tab. Finally, under the MAMP PRO Hosts Databases tab, check the database associated with the host you’re setting up.
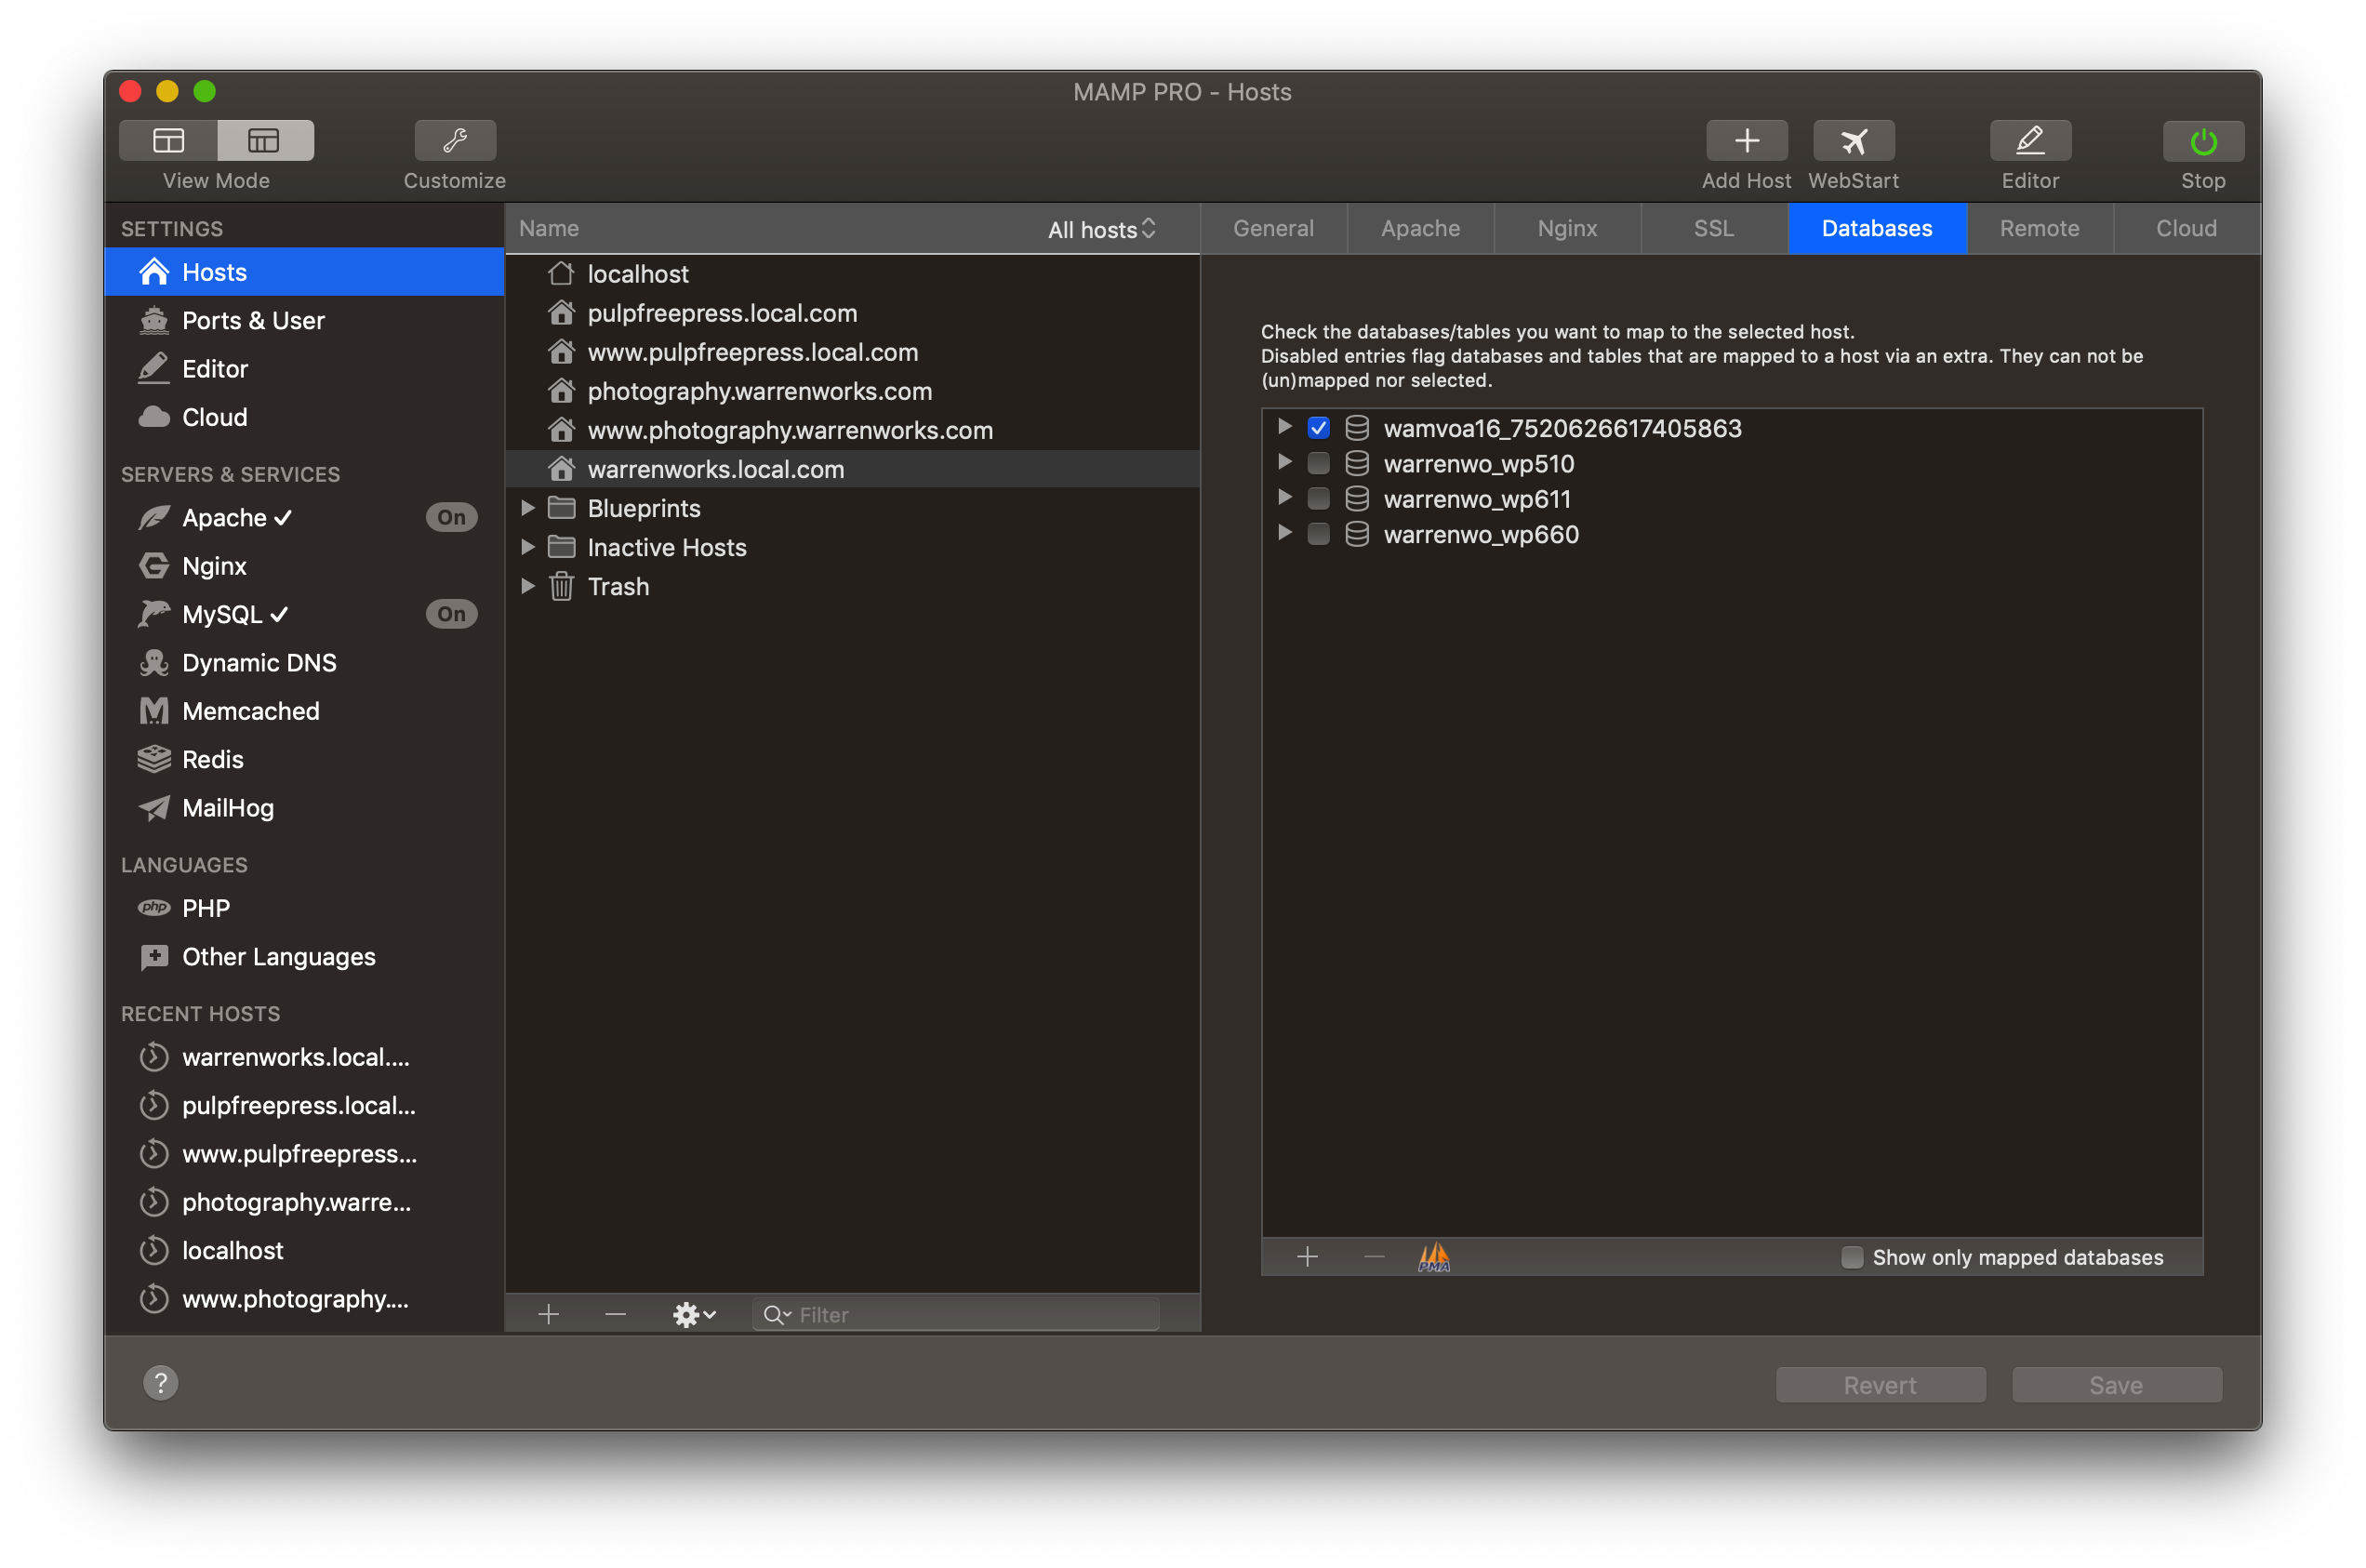
Assigning Database to Host in MAMP PRO
That should be it. I recommend restarting MAMP PRO before accessing the site. Test your local site by entering the hostname you selected when you created the host with MAMP PRO. If you’re using SSL, be sure to append https:// to the URL.
Troubleshooting
The site should open in just a few seconds. If so, great job! If you have trouble, you might want to check the following hot points:
- The database name, username, and password found in the wp-config.php file is correct for the database. Your WordPress site will not work unless it can connect to the database.
- If you’re using SSL, ensure the certs were properly generated by MAMP PRO. This is generally not an issue, but it’s good to eliminate as a potential problem.
- Also, if using SSL, be sure to set port 443 in the Hosts -> General tab.
- If you have ‘*’ set for the IP address in the Hosts -> General tab, change it to either 127.0.0.1 or the IP address assigned by DHCP to your machine. This will be something like 192.168.n.n. or 10.10.n.n.
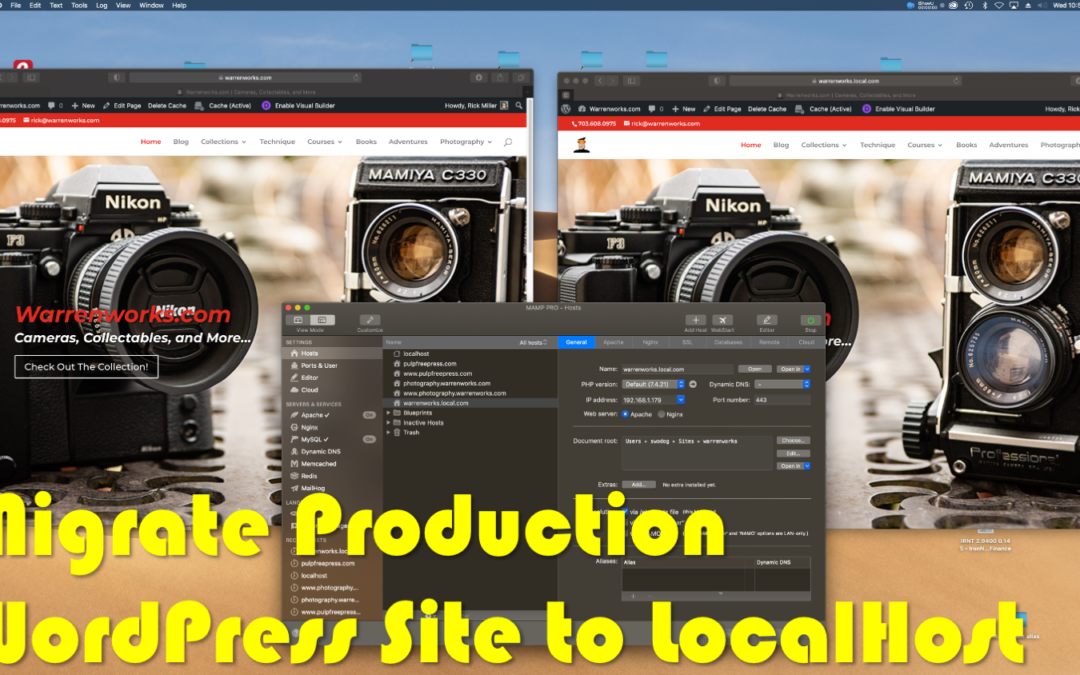
Run Production and Local Site Side-by-Side
Again, to reiterate, to run your production and local sites side-by-side, name the local site name in the MAMP PRO Hosts -> General tab something different to avoid a name conflict in the /etc/hosts file. Like I suggested above, I recommend the naming pattern [site-domain-name].local.[com | org | etc…].
Parting Thoughts
It’s always a good idea to have a copy of your website running on your local machine, whatever your reasons to do so may be. MAMP PRO makes it especially easy to host WordPress sites and working with SSL a breeze.
Rick Miller
Falls Church, Virginia